Simple DIY Shed Shelving Ideas To Organise & Make Space
Imagine a scenario where you walk into a cluttered shed, desperately searching for a tool or a gardening accessory. The frustration mounts as you rummage through piles of disorganised items, only to find the item you need buried beneath a chaotic mess. This is a common problem for many individuals who use sheds for storage, whether for gardening tools, outdoor equipment, or household items.
The importance of shed organisation cannot be overstated. A well-organised shed enhances efficiency and contributes to the longevity and proper maintenance of the stored items. Thus, in this blog you will learn practical shed shelving ideas which include proper shed shelving solutions, maximising storage capacity, streamlining workflow, and ensuring safety.
Assessing Shed Needs
An outdoor shed can be a valuable addition to any home, providing extra storage space for gardening tools, equipment, and other items. However, keeping the shed organised and tidy can be challenging, mainly when dealing with bulky tools and pots. Fortunately, many creative and practical DIY shed shelving ideas exist to organise your shed and make the most of the available space. From using hooks to installing shelves and potting benches, numerous DIY storage shed shelves can help you transform your outdoor space into a more efficient and functional area.
Decluttering and organising an outdoor shed can be a rewarding but challenging task. Here are some tips to help you effectively declutter and categorise items before building shelves for storage shed.
Decluttering Tips:
- Empty the Shed: Start with a clean slate by removing all items from the shed. This allows you to assess the space and decide on an efficient layout.
- Set Clear Goals: Define your goals for the shed. Identify the items you need to keep, donate, or discard. This clarity will guide your decluttering process.
- The Three-Box Method: Use the three-box method for sorting items: one box for items to keep, one for items to donate, and one for items to discard. This method streamlines decision-making.
- Be Ruthless: Be honest about the necessity of each item. If you last used it a long time ago or it's damaged beyond repair, consider letting it go.
- Consider Seasonal Use: Separate items based on seasonal use. Store seasonal items together and prioritise easy access to items relevant to the current season.
- Evaluate Duplicates: Assess whether you have duplicate items. Keep only what you need, and consider donating or discarding extras.
Categorising Tips:
- Sort Items Into Categories: Group similar items together to create categories. Common categories might include tools, gardening supplies, sports equipment, seasonal decorations, and maintenance items.
- Create Zones: Divide the shed into functional zones based on categories (e.g., a gardening zone, a tool zone, a seasonal storage zone). This helps maintain order.
- Prioritise Accessibility: Place frequently used items in easily accessible areas. Reserve less accessible spaces for items used infrequently.
- Use Clear Containers: Store small items in clear, labelled containers in DIY storage shed shelves. This enhances visibility and makes it easier to locate specific items.
- Label Everything: Label shelves, containers, and bins to make it easy to find items. Colour-coded DIY storage shed shelves system can add an extra level of organisation.
- Group Similar Items Together: Keep similar items together to create a sense of order. For example, group all gardening tools, seeds, and pots in the same area.
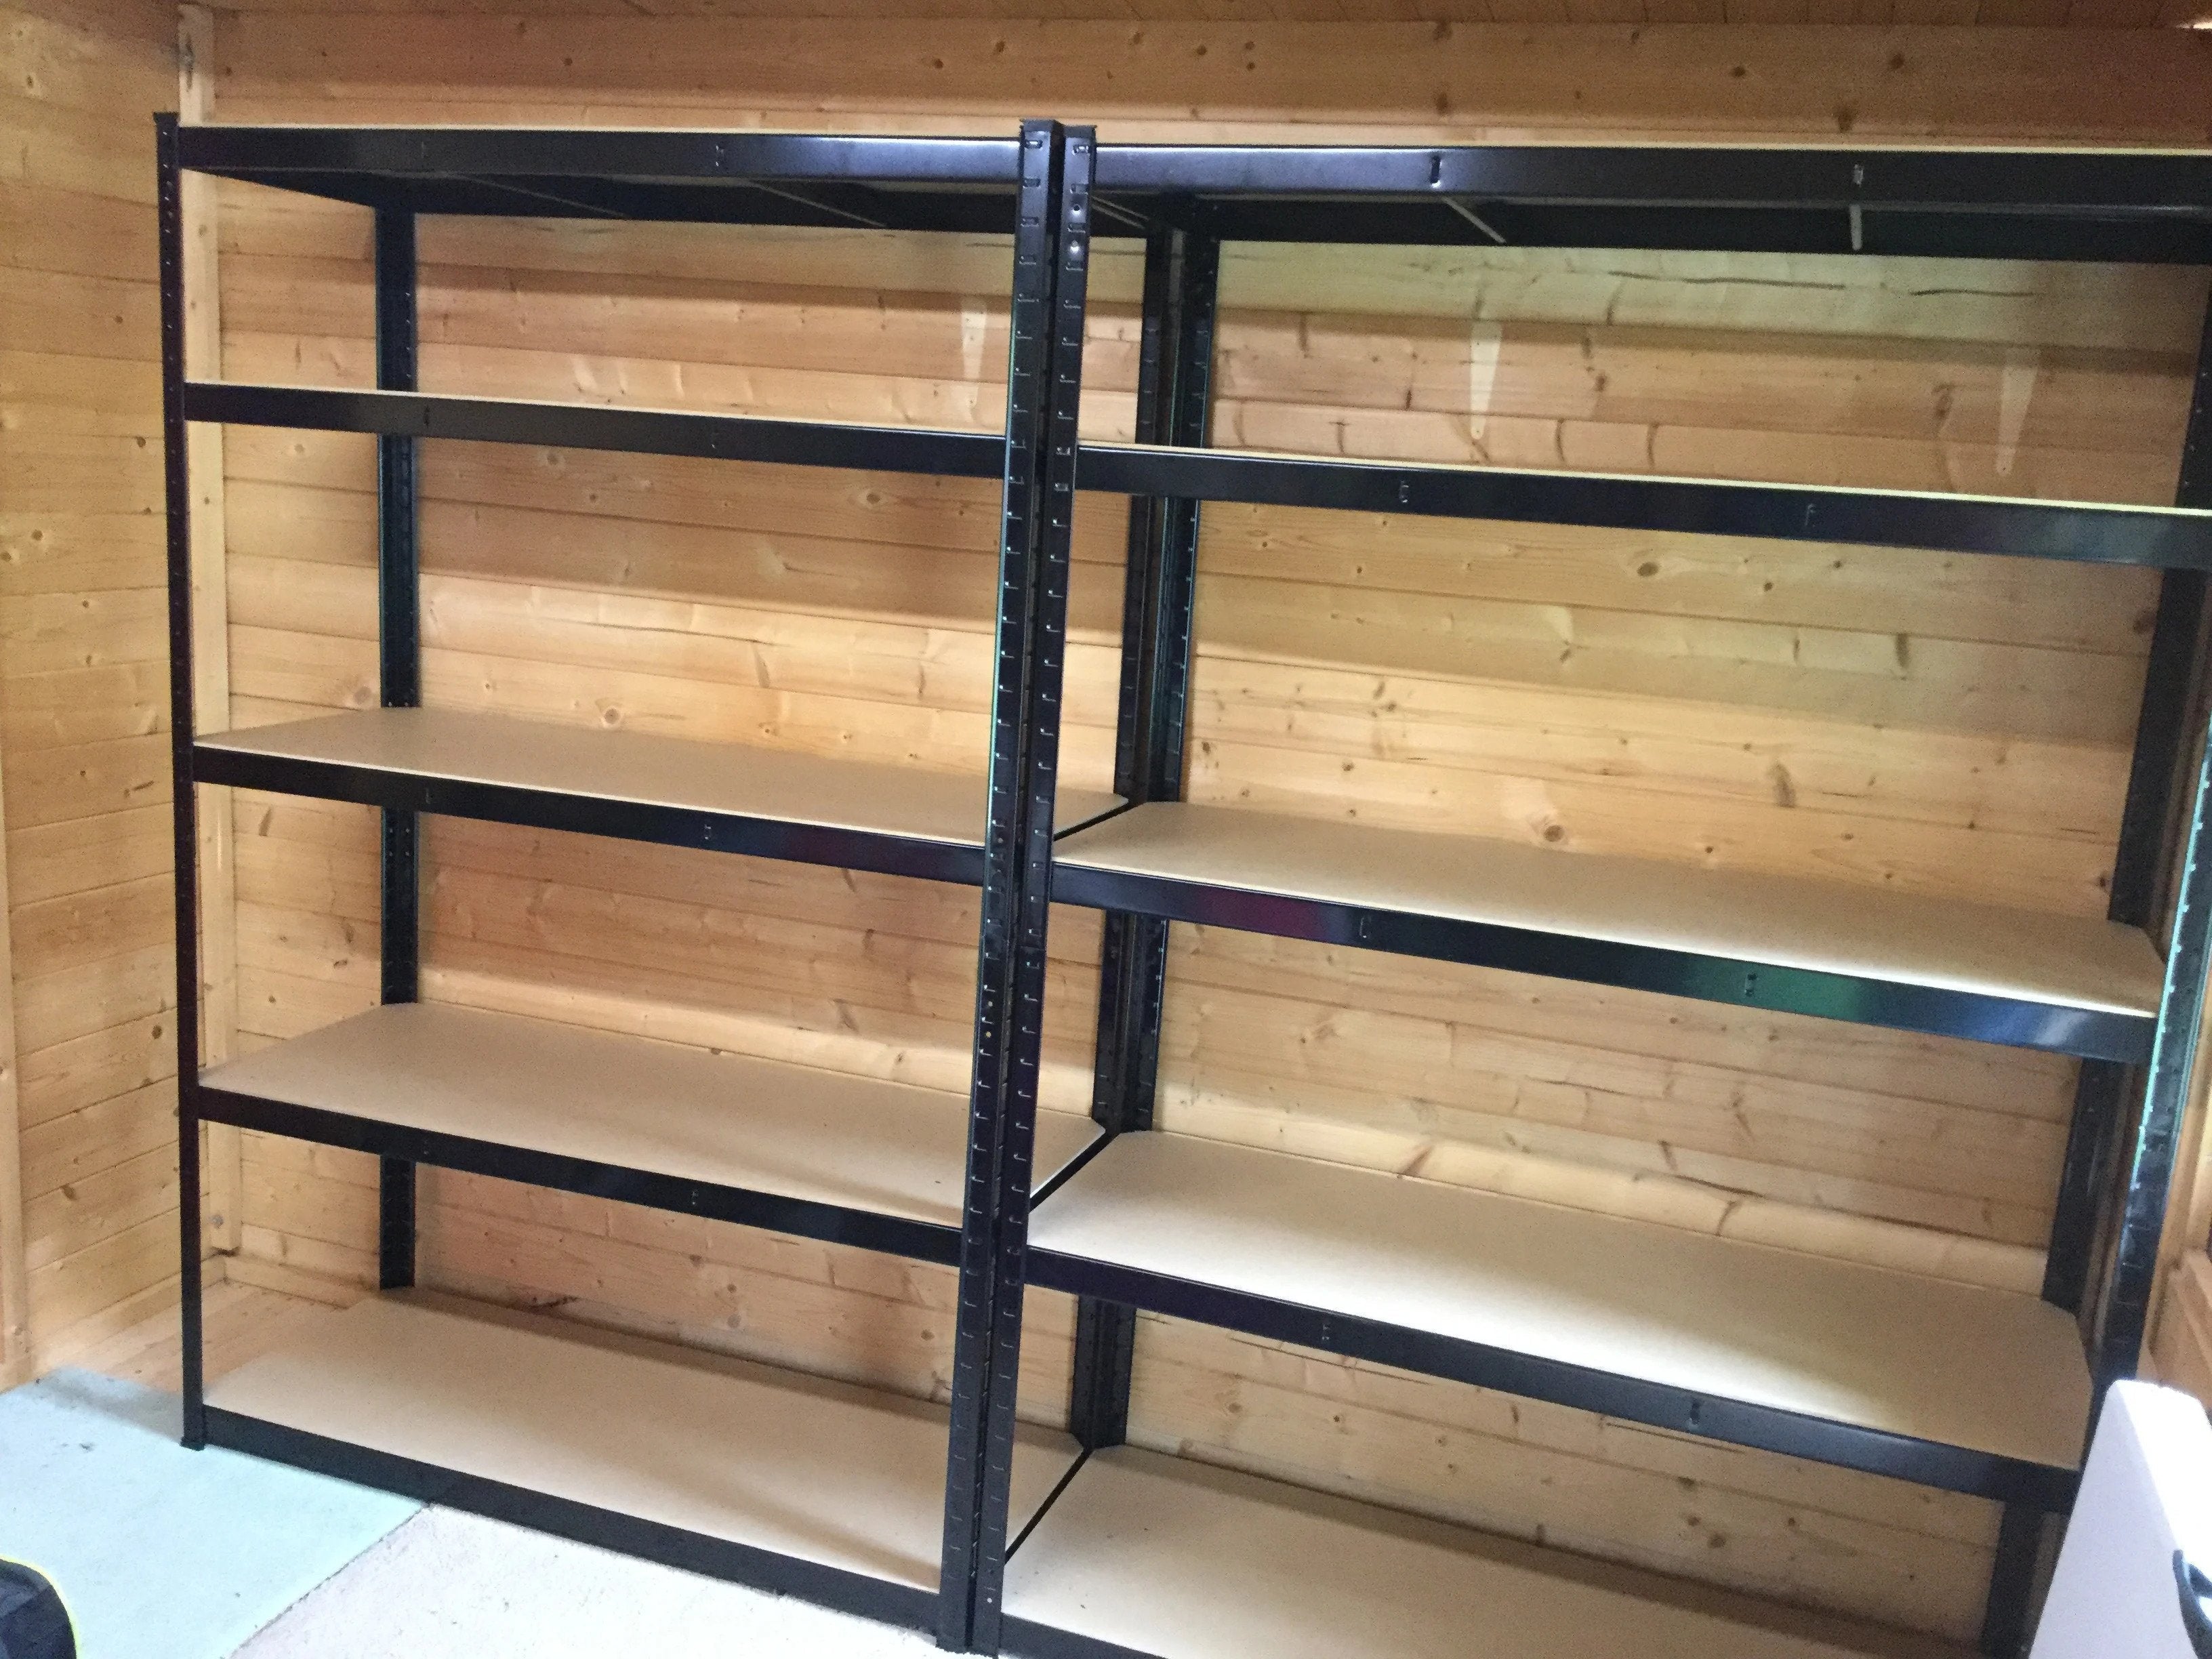
Easy DIY Shed Shelving Ideas You Can Do
Transform your outdoor shed into a clutter-free haven with DIY shed shelving ideas that cater to all your storage needs. Whether you need to store gardening equipment or seasonal decor, the collection of basic wooden shelving offers a timeless and sturdy foundation that can hold various items. If you want to maximise floor space, suspended garage shelves are a sophisticated and efficient option, providing ample storage without taking up any floor space. Modular storage shed shelving ideas offer ultimate flexibility for those who value adaptability, allowing you to reconfigure and expand your storage space per your evolving needs. You can also use eco-conscious shelving options made of recycled materials, which merge sustainability with functionality, providing you with an environmentally friendly storage solution. Additionally, adjustable and custom shelving offers tailored solutions for those who need a more personalised approach to their storage needs. With innovative and practical shelving ideas, welcome a meticulously organised shed shelf design that can accommodate all your tools and accessories.
Basic Wooden Shelving
Building simple wooden shelves is a rewarding DIY project that can enhance your storage space. Here's a step-by-step guide on how to build shelves for shed. First, look at the needed materials:
- Wooden Boards: Choose boards suitable for shelving, such as pine or plywood. Consider the length, width, and thickness based on your storage needs.
- Brackets: Select sturdy shelf brackets that match the size and weight capacity needed for your shelves.
- Screws: Use wood screws appropriate for the thickness of your boards. Typically, 2-inch or 2.5-inch screws work well for most shelf projects.
- Level: Ensure accuracy by having a level to ensure your shelves are straight.
- Drill: A power drill is essential for making pilot holes and driving screws efficiently.
- Screwdriver: Have a screwdriver on hand for manual screw adjustments if needed.
- Measuring Tape: Accurate measurements are crucial, so use a measuring tape for precision.
- Pencil: Marking lines and making notes on your wood will help guide your cuts and placements.
Once you have gathered the materials, here is a Step-by-Step Guide to building shelves for the shed:
- Planning: Measure the space where you plan to install the shelves to determine the length and width needed for the wooden boards. Proper shed shelving plans are important.
- Board Preparation: Mark the dimensions on your wooden boards using a pencil and measuring tape. Use a straight edge or a carpenter's square to draw straight cutting lines on the boards.
- Cutting: Cut the boards along the marked lines with a saw. Many home improvement stores offer cutting services if you don't have a saw.
- Sanding: Sand the cut edges and surfaces of the boards to smooth out any rough spots. This ensures a clean finish and reduces the risk of splinters.
- Bracket Placement: Decide on the desired shelf height and use a level to mark the positions for the brackets on the wall.
- Bracket Installation: Drill pilot holes into the wall at the marked bracket positions. Attach the brackets to the wall using screws and a drill, ensuring they are level and securely fastened.
- Attaching Shelves: Place the cut wooden boards onto the installed brackets. Secure the shelves to the brackets using wood screws. Drill pilot holes first to prevent the wood from splitting.
- Final Checks: Use a level to double-check that the shelves are straight. Make any necessary adjustments to the screws to ensure the shelves are securely in place.
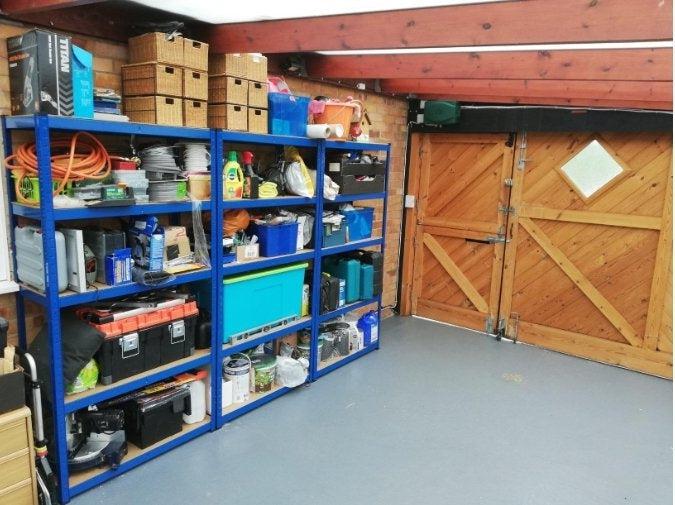
Read More: How to Organise Your Garden Shed with Shelving and Racking
Creative Use of Pallets
Repurposing pallets into shed shelves is a creative and sustainable way to organise your space. Here are several innovative ideas for pallet shelving designs, safety considerations and customisation tips:
- Basic Pallet Shelving Unit: Stack pallets horizontally to create shelves, securing them to the shed wall for stability. Ensure pallets are securely attached to the wall to prevent tipping. Sand and paint the pallets for a smooth finish.
- Vertical Pallet Garden Shelf: Attach pallets vertically, creating a garden shelf for small pots and gardening tools. Reinforce the back with additional wood to prevent itefms from falling through.
- Pallet Ladder Shelf: Lean a pallet ladder against the shed wall, creating a tiered shelving system. Ensure the ladder is stable and anchored securely to the wall. Sand and seal the wood to prevent splinters.
- Pallet Floating Shelves: Cut pallets into smaller sections and mount them individually for floating shelves.
- Use sturdy brackets to secure the pallets to the wall. Sand and finish the wood for a polished look.
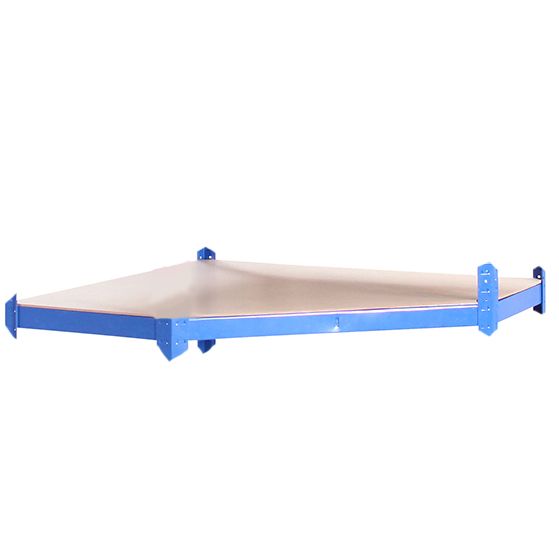
- Corner Pallet Shelves: Attach pallets diagonally in a corner to maximise space and create unique triangular shelves. Secure the pallets well, especially at the base. Sand and seal for a neat appearance.
- Rolling Pallet Shelves: Add wheels to the bottom of a horizontal pallet for a mobile storage solution. Ensure the wheels are locked when the shelf is in use. Reinforce the structure to handle movement.
- Pallet Pegboard Shelving: Attach pegboard to the back of the pallet for hanging tools, maximising vertical space. Ensure the pegboard is securely attached. Sand and paint for a professional finish.
Safety Considerations:
- Stability: Ensure the pallet shelves are securely anchored to the shed wall or floor to prevent tipping.
- Weight Distribution: Distribute weight evenly across the shelves to prevent overloading and potential collapse.
- Sanding and Sealing: Sand the pallets to remove splinters and rough edges. Seal or paint the wood to protect against weathering and enhance aesthetics.
- Secure Attachments: Use appropriate screws and anchors to secure the pallets firmly in place.
- Regular Inspection: Periodically check the integrity of the shelves, especially if storing heavy items.
Customisation Tips:
- Paint and Stain: Customise the pallets with paint or stain to match your shed's colour scheme.
- Add Hooks and Brackets: Incorporate hooks and brackets for additional hanging storage.
- Labelling: Attach labels or paint the shelves with chalkboard paint for easy item identification.
- Mixed Materials: Combine pallets with other materials like metal or plywood for a unique look.
- Modular Design: Create a modular system using multiple smaller pallet units that can be rearranged.

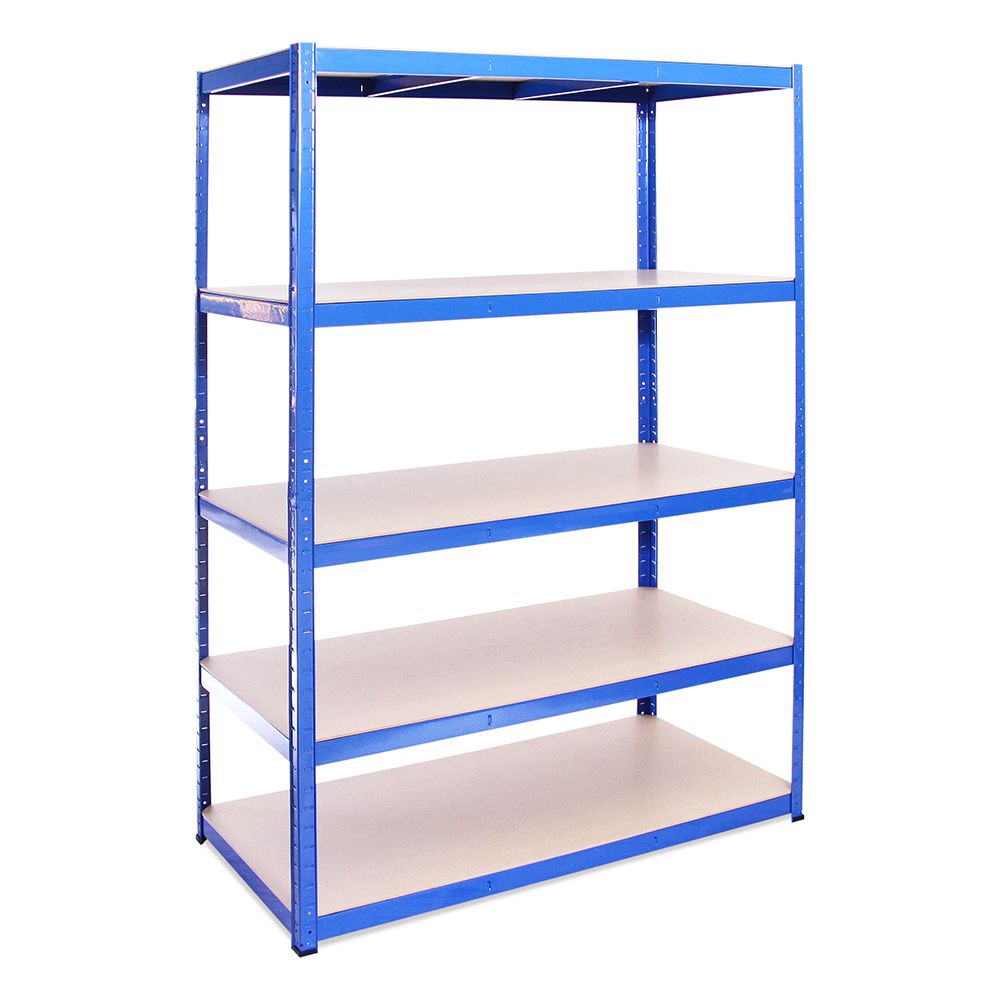
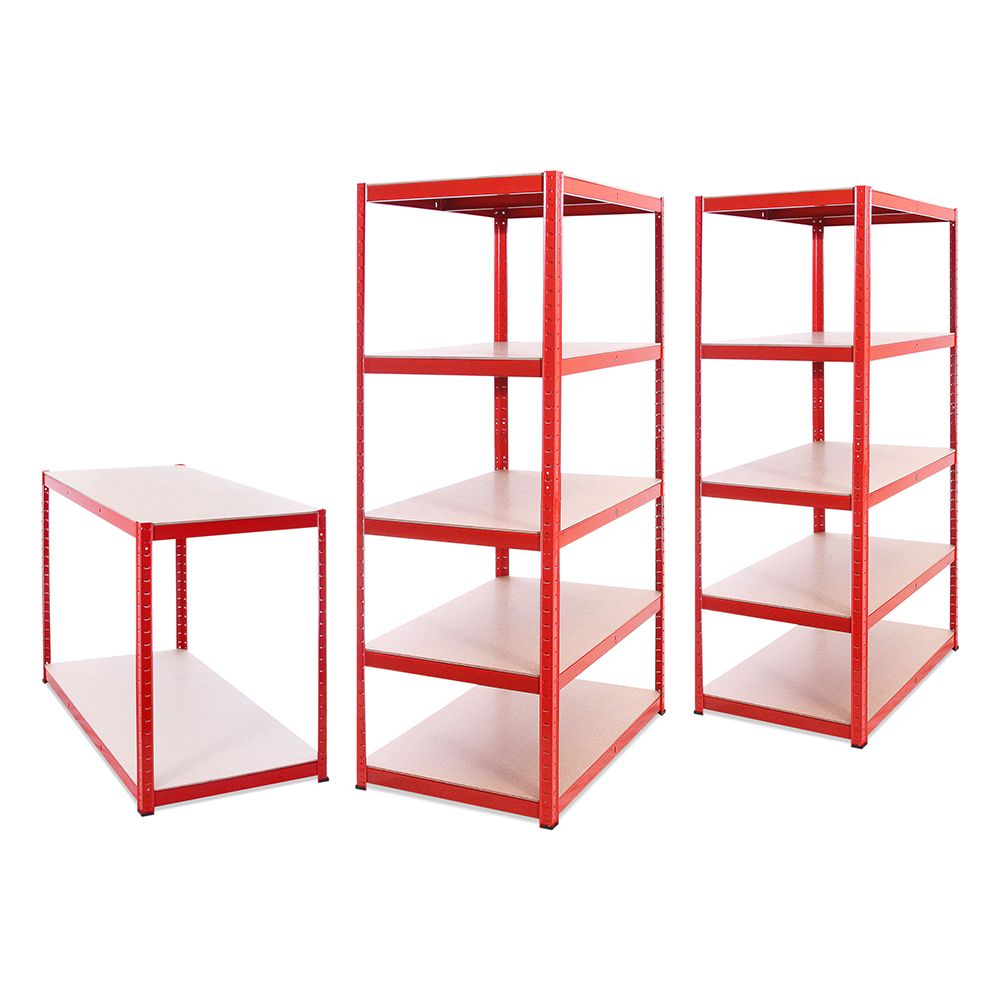
Buy Now: 5-Tier Boltless Shelving Unit (Set of 2)
Suspended Garage Shelves
Blending your shed's shelves can be a great way to maximise storage space. Here's an in-depth tutorial along with guidance on load-bearing capacity, safety precautions, and best practices to build shelves for the shed:
Materials Needed:
- Wooden boards or plywood for shelves
- Heavy-duty shelf brackets or hardware
- Screws and anchors appropriate for your shed's walls/ceiling
- Drill and bits
- Level
- Stud finder
- Measuring tape
- Pencil
- Safety gear: gloves and safety glasses
Steps:
Determine Load-Bearing Capacity:
- Identify the weight capacity of the shed's structure. If unsure, consult with a structural engineer.
- Know the load-bearing capacity of the chosen brackets or hardware.
- Calculate the total weight the shelves will hold, including items and the weight of the shelves themselves.
Locate Wall Studs or Ceiling Joists:
- Use a stud finder to locate the wall studs or ceiling joists where you plan to install the suspended shelves.
- Mark the locations with a pencil.
Measure and Plan Shelf Placement:
- Measure the length and depth of the shelves, ensuring they fit your storage needs.
- Plan the spacing between shelves, considering the size of items to be stored.
Install Brackets:
- Position the shelf brackets or hardware at the marked locations on the wall or ceiling.
- Ensure that the brackets are level.
- If attaching to the ceiling, ensure the brackets are perpendicular to the joists.
Secure Brackets:
- Use the appropriate screws and anchors to secure the brackets to the wall studs or ceiling joists.
- If attaching to drywall, use heavy-duty anchors that can support the weight.
Attach Shelves:
- Place the wooden boards or plywood on top of the brackets to form the shelves.
- Secure the shelves to the brackets using screws.
Reinforce and Stabilise:
- Consider adding diagonal braces for extra stability, especially for longer shelves.
- Ensure all connections are tight and secure.
Safety Precautions:
- Wear safety gear, including gloves and safety glasses, when working with tools.
- Stay within the load-bearing capacity specified for your shed's structure and the chosen hardware.
- If you doubt the shed's structural integrity, consult a professional.
Best Practices:
- Use high-quality materials for shelves and hardware to ensure durability.
- Consider finishing or painting the shelves to protect the wood from moisture.
- Periodically check the shelves for signs of wear, loose screws, or instability.
Organisation and Labeling:
- Organise items on the shelves in a way that distributes weight evenly.
- Label shelves for easy identification of stored items.
Modular Shelving Systems
Modular shelving is a great way to build shelving in a shed. With a flexible shed storage solution that can be customised to meet your changing needs. It comes in pre-built or DIY options, offering efficient organisation and scalability. Here are some tips for adapting modular shelving to different shed sizes.
Pre-Built Modular Systems:
- These popular cube-style shelving units are easily customisable and can be arranged horizontally or vertically.
- It is ideal for storing various-sized items, from small tools to larger containers.
- Mix and match drawers, baskets, and inserts for added organisation
- Easy to install and reconfigure.

Buy Now: 5 Tier Boltless Shelving Unit
DIY Modular Shelving:
Crate Shelving:
- To build shelving in shed, use wooden crates as modular units, stacking and arranging them based on your needs.
- Paint or stain the crates for a cohesive look.
- Add wheels to create mobile storage.
PVC Pipe Shelving:
- Create a modular shelving system using PVC pipes and fittings.
- Adjustable and lightweight, it is suitable for various shed sizes.
- Ideal for storing lightweight items and gardening tools.
Ladder Shelf System:
- Build ladder-style shelves that can be leaned against the shed walls.
- Easily adjustable and movable.
- Perfect for displaying plants, small tools, or decorative items.
Tips for Adapting Modular Systems to Different Shed Sizes:
- Before purchasing or building modular shelving, measure the available space in your shed.
- With pre-built modular systems, mix and match components to fit the shed size.
- Use a combination of shelves, drawers, and hooks to maximise functionality.
- Utilise wall-mounted modular systems to save floor space.
- Consider adding wheels to modular units for mobility.
- Take advantage of vertical space by incorporating tall shelving units.
- Stack units vertically to make the most of limited floor space.
- Opt for modular systems that allow for easy disassembly and reconfiguration.
Recycled Materials for Shelving
Recycled materials can be used to build shelves for storage shed. Create an eco-friendly shed organisation with recycled materials. These shed organiser ideas will help you reinvent your shed storage solutions.
- Crate Wall Storage: Mount old wooden crates for accessible storage.
- Barrel Shelving Unit: Cut recycled barrels to make unique semi-circular shelves.
- Pallet Garden Tool Organiser: Attach hooks to a pallet for organised tool storage.
- Stacked Tire Shelves: Stack-painted old tires with wooden boards for colourful shelving.
- Plastic Bottle Storage Containers: Cut plastic bottles in half and attach them to a board for small item storage.
- Upcycled Pallet Workbench: Combine pallets to create a sturdy workbench.
- Mason Jar Organiser: Attach mason jars to wood for clear small item storage.
- Recycled Metal Drum Storage: Cut metal drums for robust tool or bulky item storage.
Eco-conscious Tips:
- Use discarded items creatively.
- Use eco-friendly paints or finishes.
- Label with reusable materials.
- Incorporate a composting bin.
- Utilise reclaimed wood for character and sustainability.
Adjustable and Custom Shelving
Adjustable shelving offers several benefits for storage needs. It provides versatility, optimises space, future-proofs storage needs, and allows customisation of shelf design for specific items. The Benefits of Adjustable Shelving are as follows:
- Versatility: Accommodate various-sized items.
- Optimised Space: Maximise storage efficiency.
- Future-proofing: Adapt to evolving storage needs.
- Customisation: Tailor shed shelf design for specific items.
Guide to Creating Customised Adjustable Shelving:
Adjustable shelving provides flexibility and functionality to any space. Here's a detailed guide on creating customised adjustable shelving:
Determine Purpose:
- Identify the purpose of the shelves (e.g., books, decor, storage).
- Consider the items' sizes that the shelves will accommodate.
Choose Material:
- Select suitable materials like plywood, MDF, or solid wood.
- Ensure the material supports the weight of intended items.
Measure and Plan:
- Measure the wall space for the shelving unit.
- Plan the layout and spacing of the shelves based on the items to be stored.
Decide on Adjustability Mechanism:
- Choose an adjustable system like shelf pins, tracks, or brackets.
- Ensure the mechanism aligns with the shelf material and design.
Cutting and Sanding:
- Cut the shelves to the desired dimensions using a saw.
- Sand the edges and surfaces for a smooth finish.
Drilling Holes:
- Use a template or jig to drill evenly spaced holes for adjustable shelving.
- Ensure precision to maintain uniformity.
Assembling the Unit:
- Attach the adjustable mechanism according to the chosen system.
- Assemble the shelving unit, securing shelves in designated positions.
Finishing Touches:
- Paint or finish the shelves to match the room's decor.
- Consider adding edge banding for a polished look.
Installation:
- Mount the shed shelving unit securely to the wall.
- Use appropriate anchors and screws based on wall type.
Watch the assembly instructions video here.
Testing and Adjusting:
- Test the stability of the shelves.
- Adjust the shelf positions to accommodate changing needs.
Organise Items:
- Organise items on the adjustable shelves for functionality.
- Enjoy the flexibility of adapting the shelving to evolving needs.
Adjustable shed shelving offers a versatile storage solution, adapting to your requirements over time.
If you're looking to optimise the available space in your shed, here are a few practical ideas to consider tailored to different shed sizes.
- For a small shed, a DIY ladder shelf can use vertical space.
- A medium-sized shed can benefit from an adjustable metal shelving unit.
- A modular wooden shelving system can be a great solution for a larger shed.
- If you're looking for custom tool storage, a pegboard wall with adjustable shelves can be a great choice.
Finally, a modular wire shelving system with adjustable baskets for a garden shed can help you keep everything organised.
Seasonal Shed Organisation Strategies
- Categorise by Season: Group items by season, creating distinct categories for summer, fall, winter, and spring. This facilitates a systematic rotation process.
- Regular Inventory Checks: Conduct regular inventory checks to assess the items needed for the upcoming season. This prevents unnecessary clutter and ensures you have the right tools and equipment.
- Prioritise Accessibility: Arrange items based on their seasonal frequency of use. Keep current season items easily accessible while storing off-season items in less accessible areas.
- Label Storage Bins Clearly: Use clear storage bins for seasonal items and label them clearly. This aids in quick identification and retrieval when needed.
- Utilise Adjustable Shelving: Opt for adjustable shelving units to accommodate seasonal items' changing sizes and shapes. This flexibility allows for easy customisation.
- Create Seasonal Zones: Designate specific zones within the shed for each season. This prevents clutter and makes it simpler to locate items when transitioning between seasons.
- Rotate Items During Transition: As seasons change, take the opportunity to rotate items. For example, store winter tools closer to the front during the summer and shift them to the back during the colder months.
- Invest in Climate-Controlled Storage: Consider investing in climate-controlled storage solutions for temperature-sensitive items. This helps protect items like chemicals, paints, or electronic equipment from extreme temperatures.
- Pull-Out Shelves: Install pull-out shelves for easy access to items stored in the back. This is particularly useful for accessing off-season tools or equipment.
- Sliding Bins or Crates: Use sliding bins or crates on shelves to easily access and store seasonal items. This is especially beneficial for smaller tools and accessories.
- Vertical Wall Storage: Utilise wall space with vertical storage solutions such as pegboards or wall-mounted racks. Hang lightweight, frequently used items for quick access.
- Overhead Storage: While building shelves for the storage shed, install overhead storage racks for seasonal items used less frequently. This keeps them out of the way while maximising available space,
- Seasonal Hooks and Hangers: Incorporate hooks and hangers with seasonal labels for items like hats, gloves, or gardening tools. This adds an extra layer of organisation.
- Rolling Storage Units: Consider rolling storage units for flexibility. These can be moved around the shed, allowing for easy reorganisation during seasonal transitions.
- Clear Bins with Visual Inventory: Choose clear storage bins for seasonal items to easily see the contents. This simplifies identifying what needs to be rotated in or out.
G-Rack,UK is a trusted provider of high-quality, customisable shelving solutions for your storage needs. G-Rack offers the best shed storage ideas in UK. Our modular and adjustable systems offer flexibility and convenience, making them popular among homeowners and businesses. We pride ourselves on using durable materials that can withstand heavy loads and resist corrosion, ensuring that our products are built to last. With G-Rack, you can easily customise your storage space to suit your specific requirements, ensuring you have the perfect solution for your garage, shed, or workshop. Our shelving systems are functional and stylish and can add character to your space while keeping it organised and tidy. Whether you're looking to store tools, gardening equipment, or household items, G-Rack's shelving systems are the perfect choice for anyone who values quality, reliability, and convenience.